How to Install WordPress Manually
Installing WordPress manually might seem unnecessary, but Softaculous offers a speedy alternative. However, for those seeking a more hands-on, technical approach, this article provides a step-by-step guide on how to manually install WordPress. Let's dive into the manual installation process
Step 1: Download WordPress
Begin by downloading the WordPress package to your local computer. You can find the latest version at https://wordpress.org/download/.
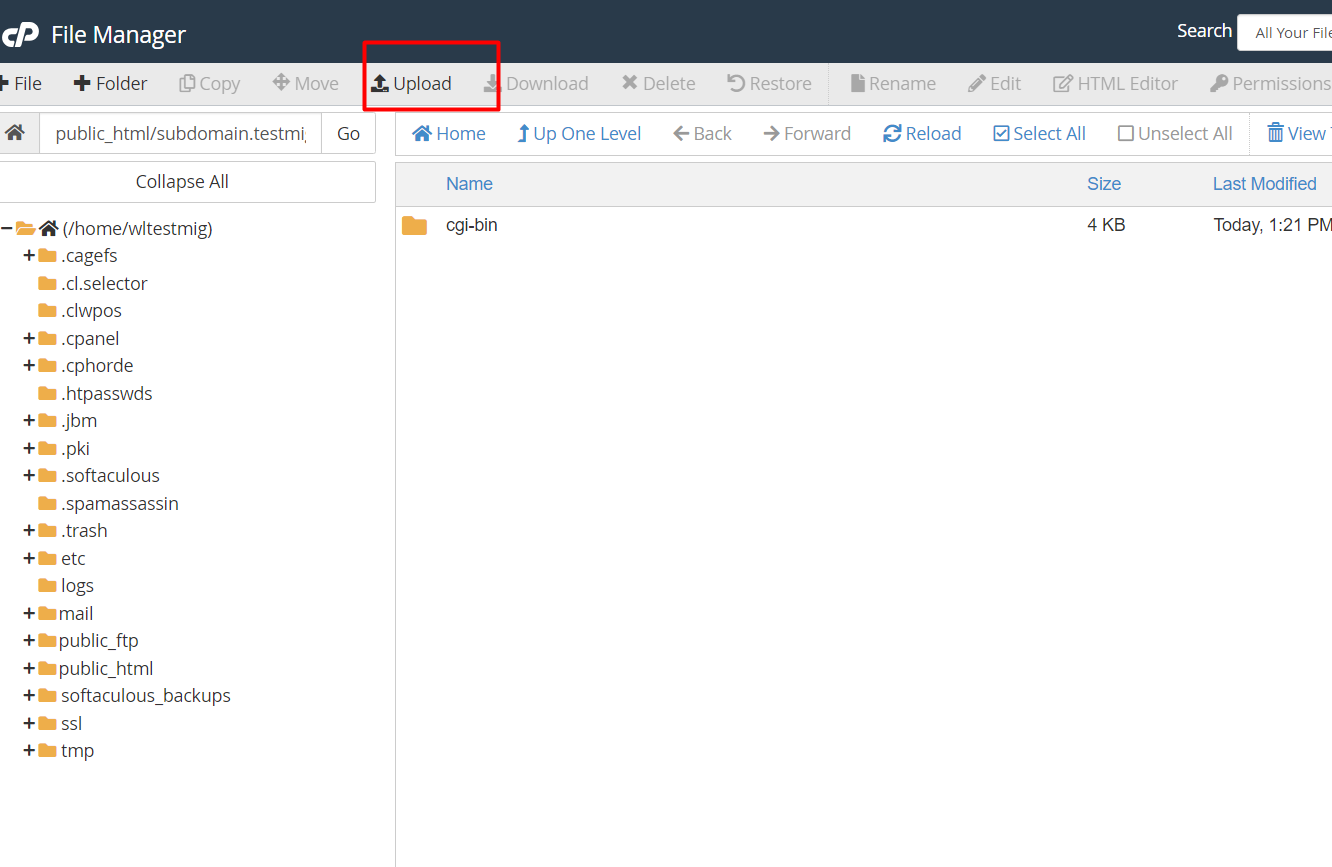
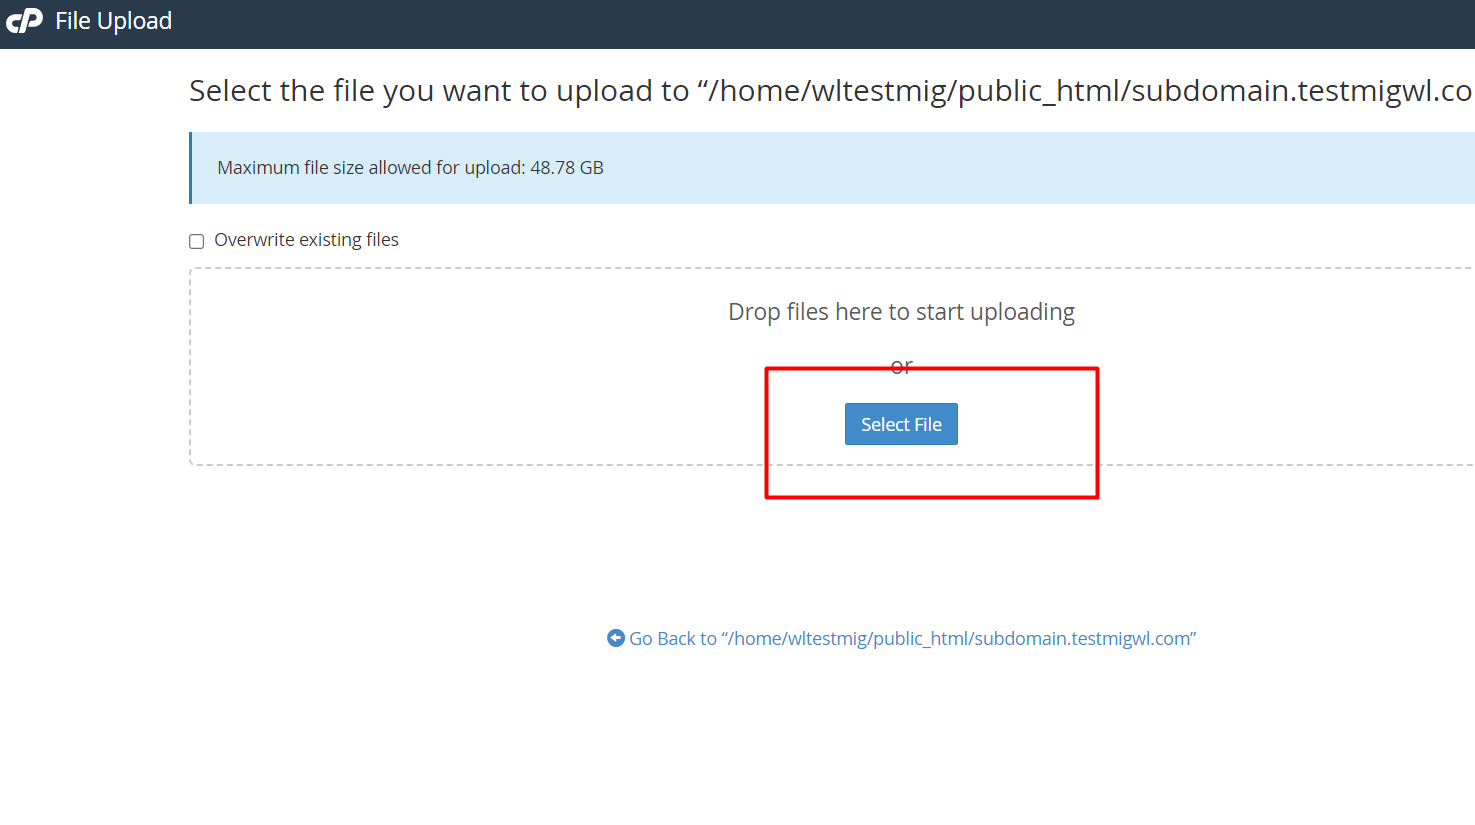
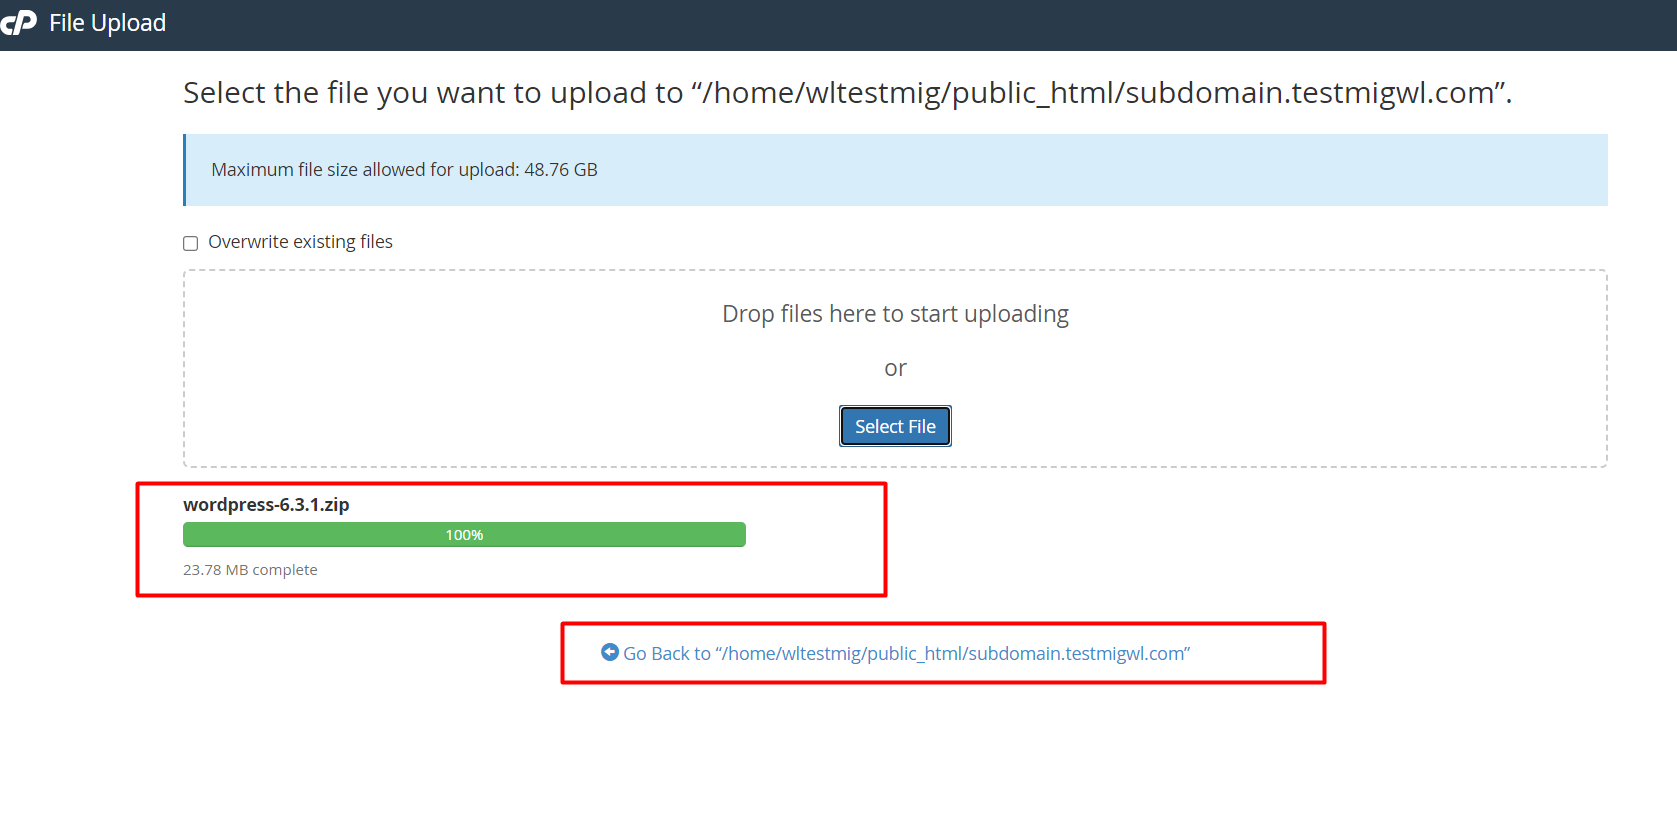
Step 2: Upload the WordPress ZIP File
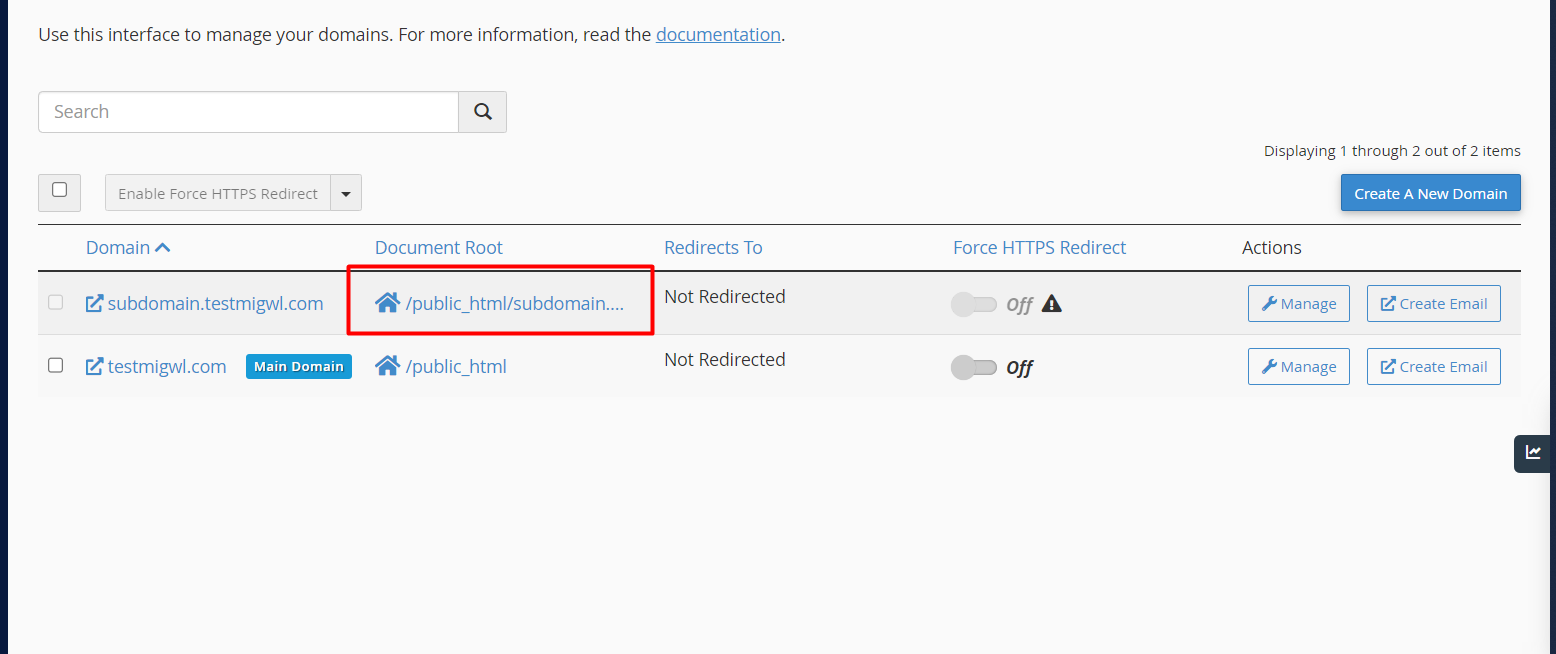
Upload the downloaded WordPress ZIP file to your domain or subdomain directory. Once uploaded, proceed to the next step.
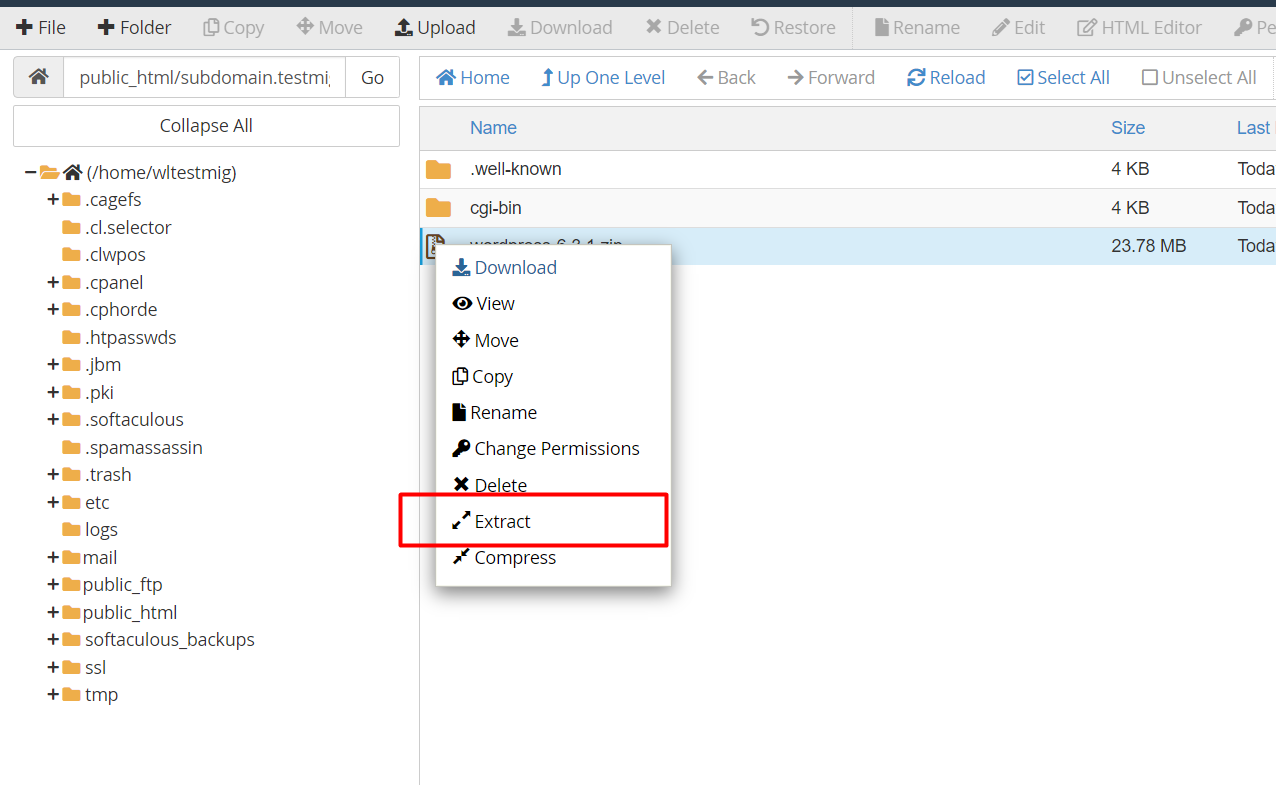
Step 3: Extract Files
After uploading, extract the files. Refresh the page to ensure that the extraction is complete.

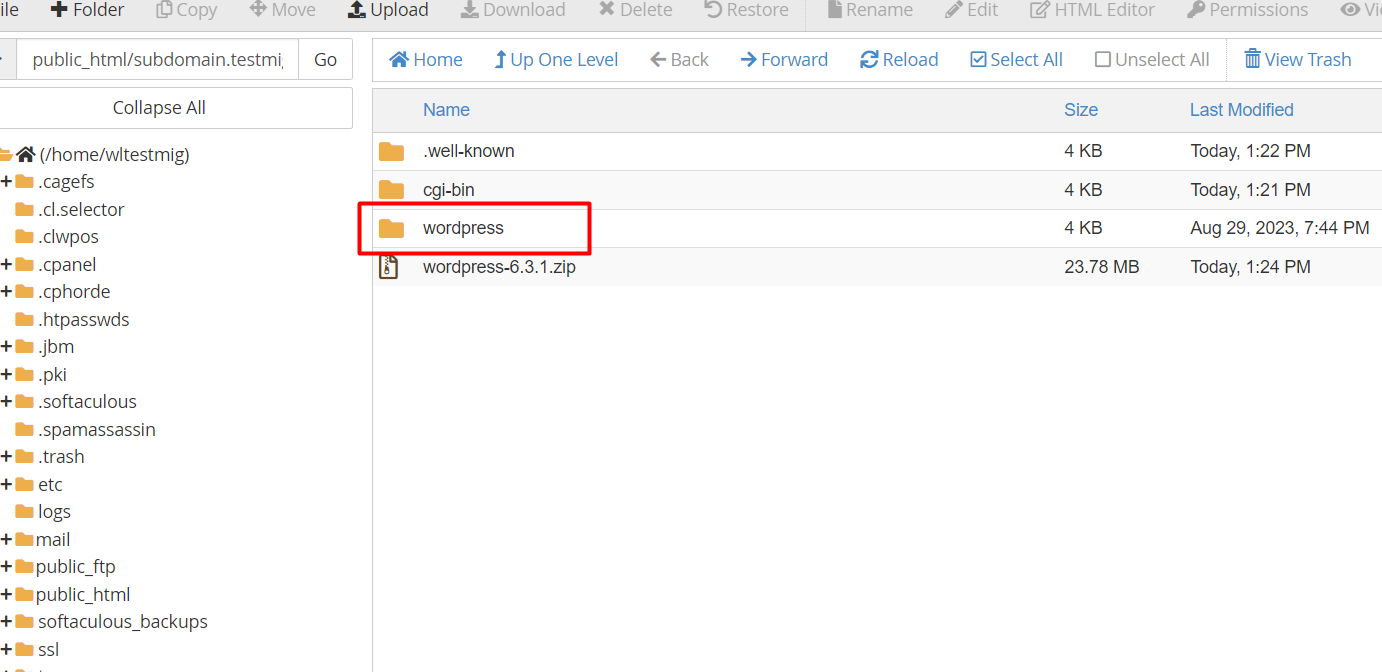
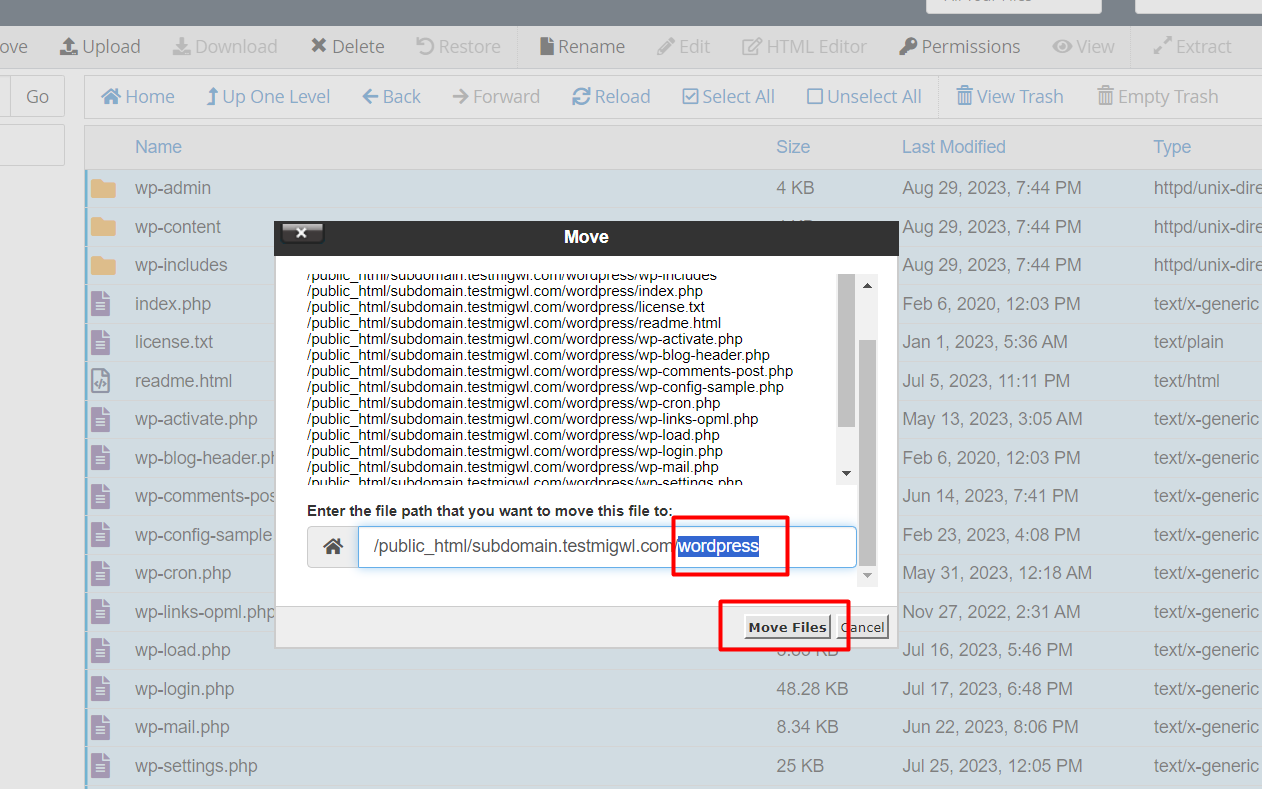
Step 4: Move Extracted Files to Domain/Subdomain Directory
a) Open the WordPress folder and select all files. Click Move and relocate them to your domain/subdomain directory. Be sure to remove the WordPress folder during the move.
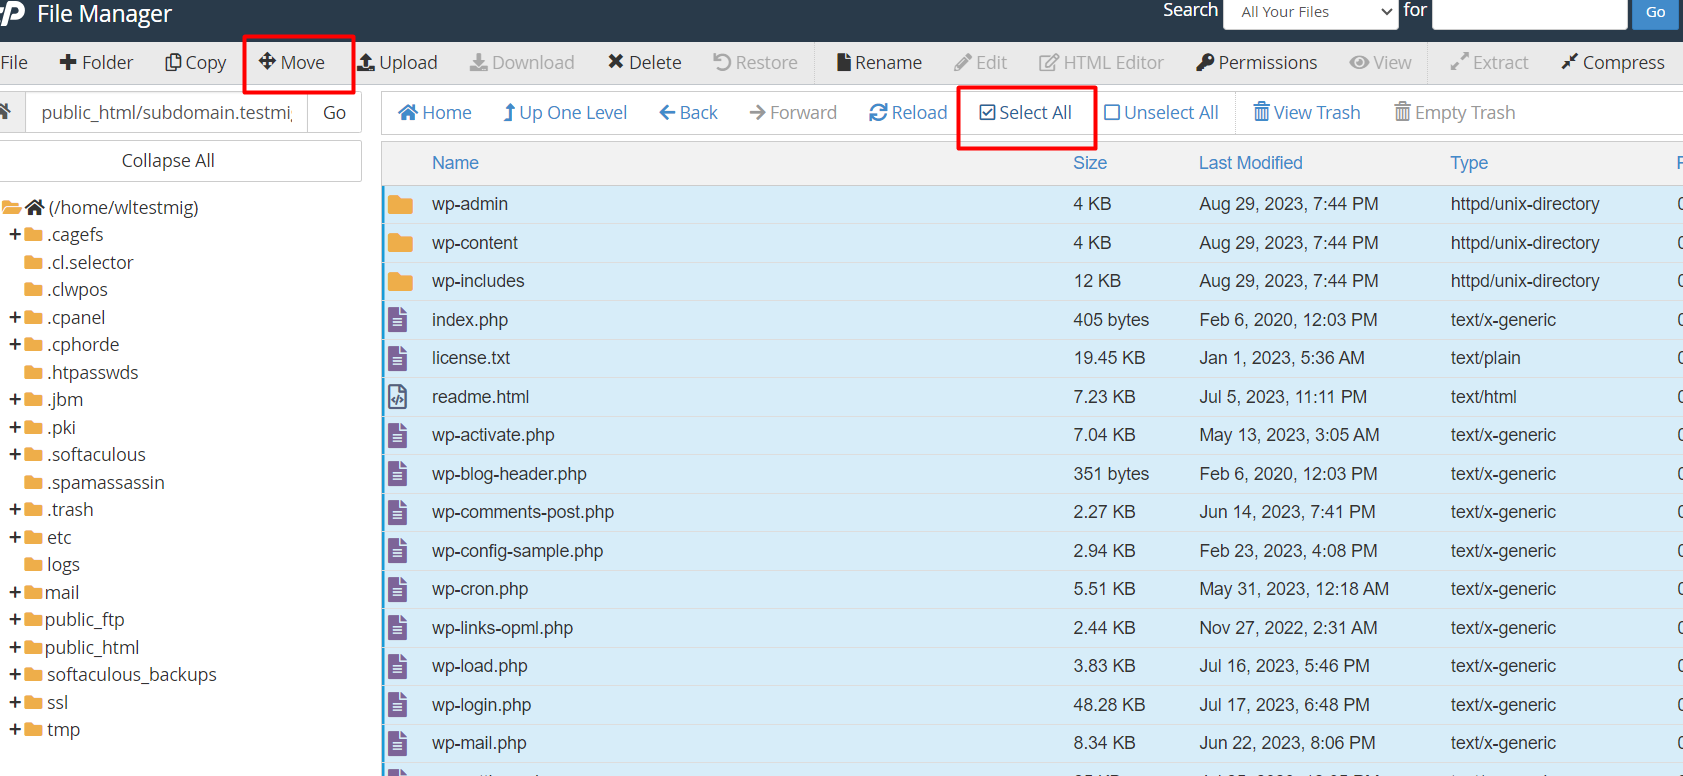
Be sure to remove the WordPress folder during the move.
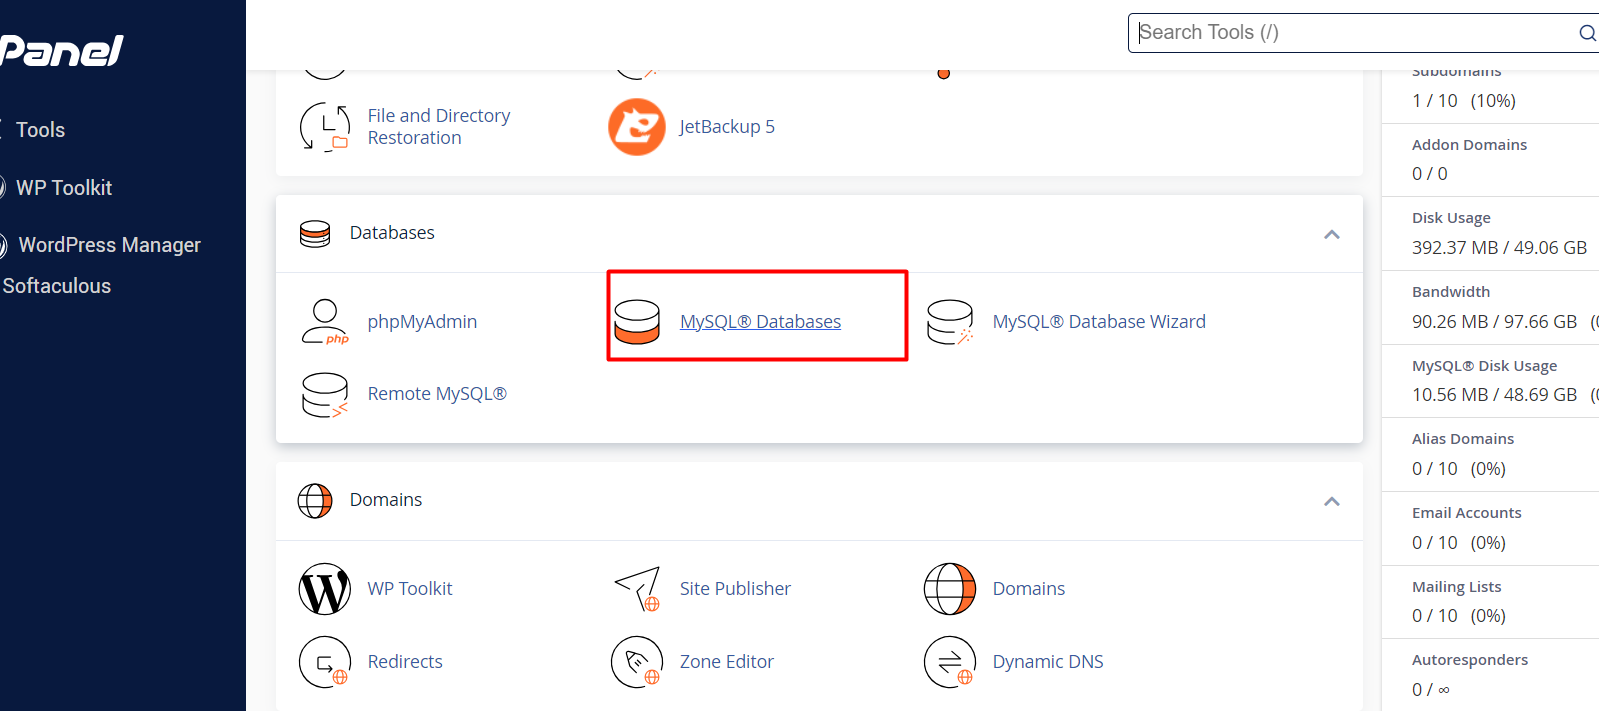
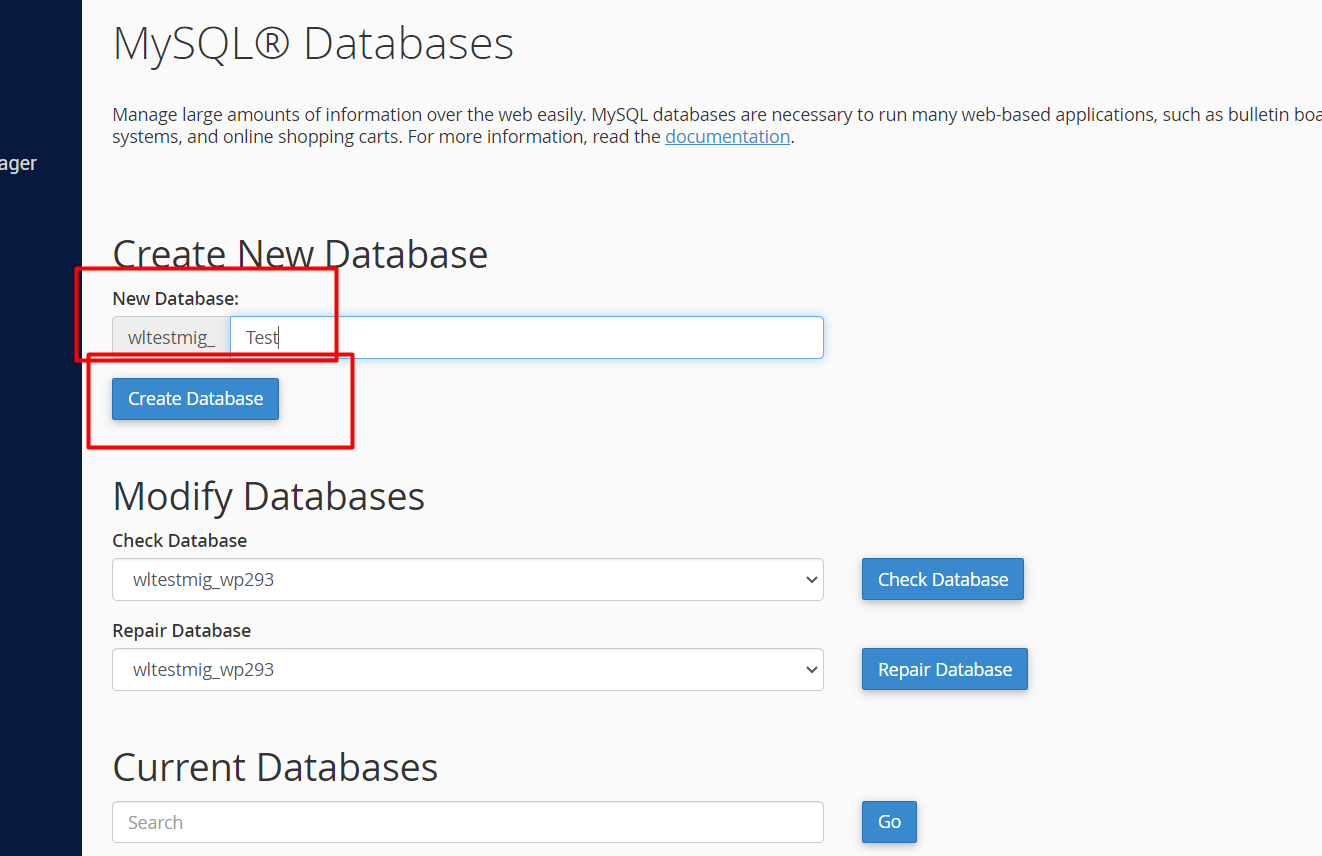
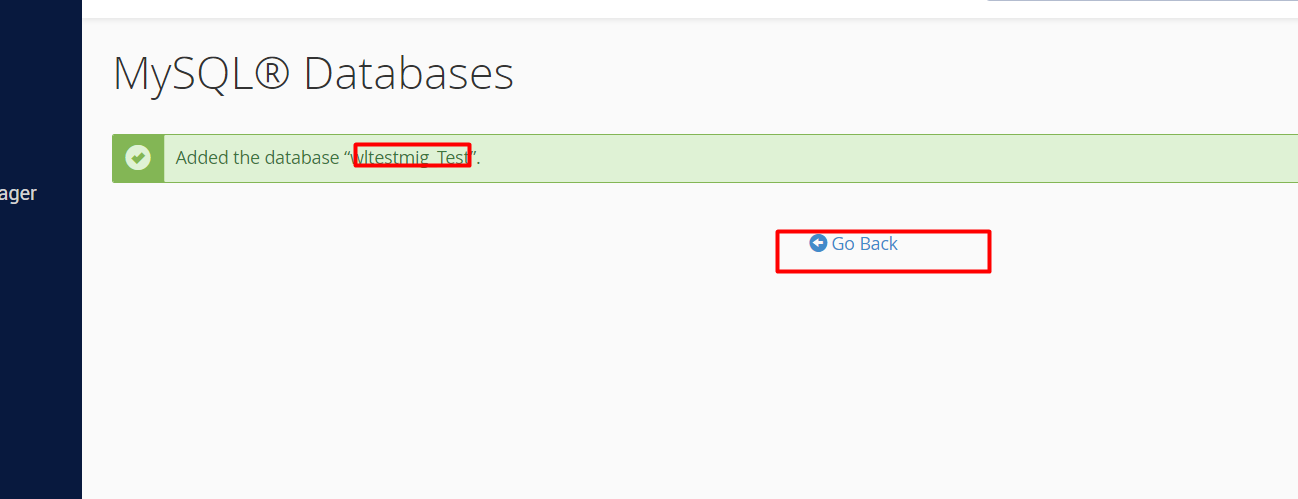
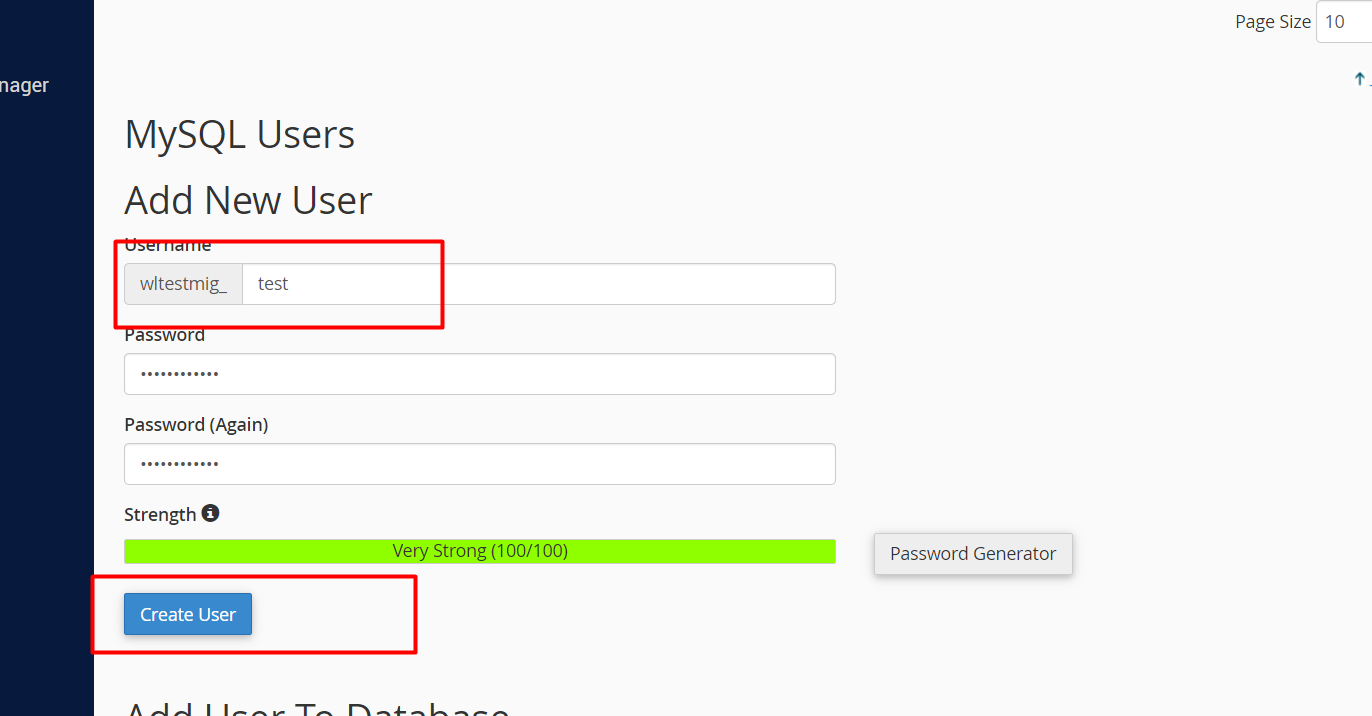
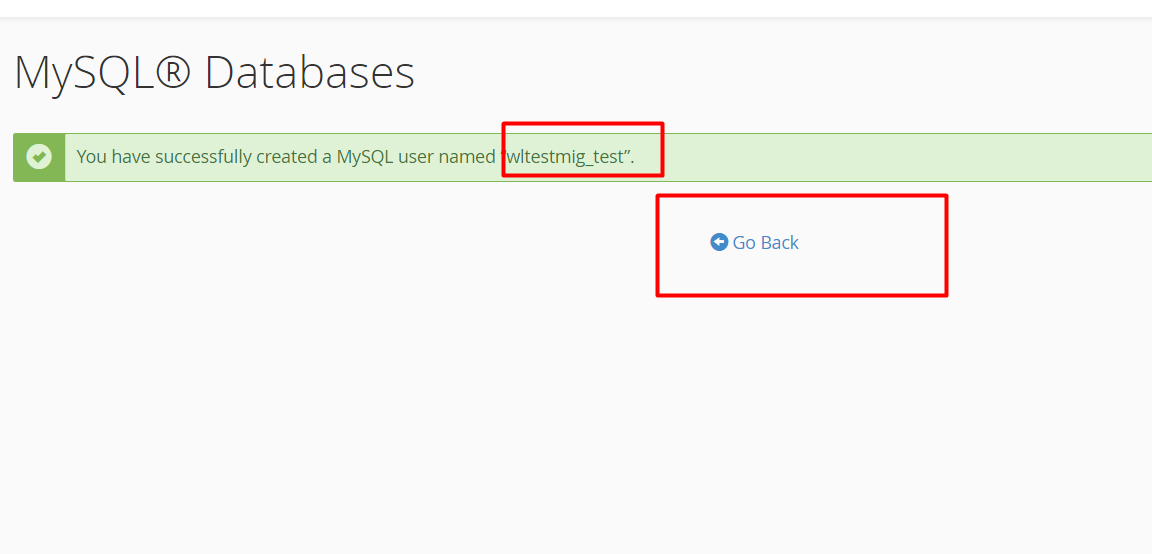
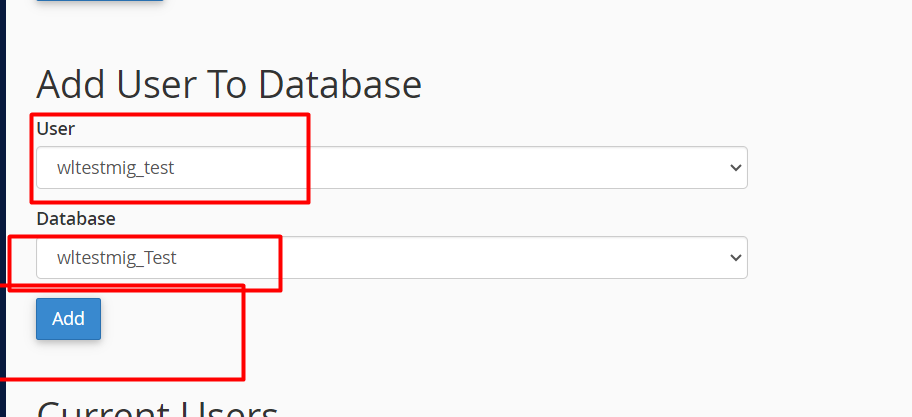
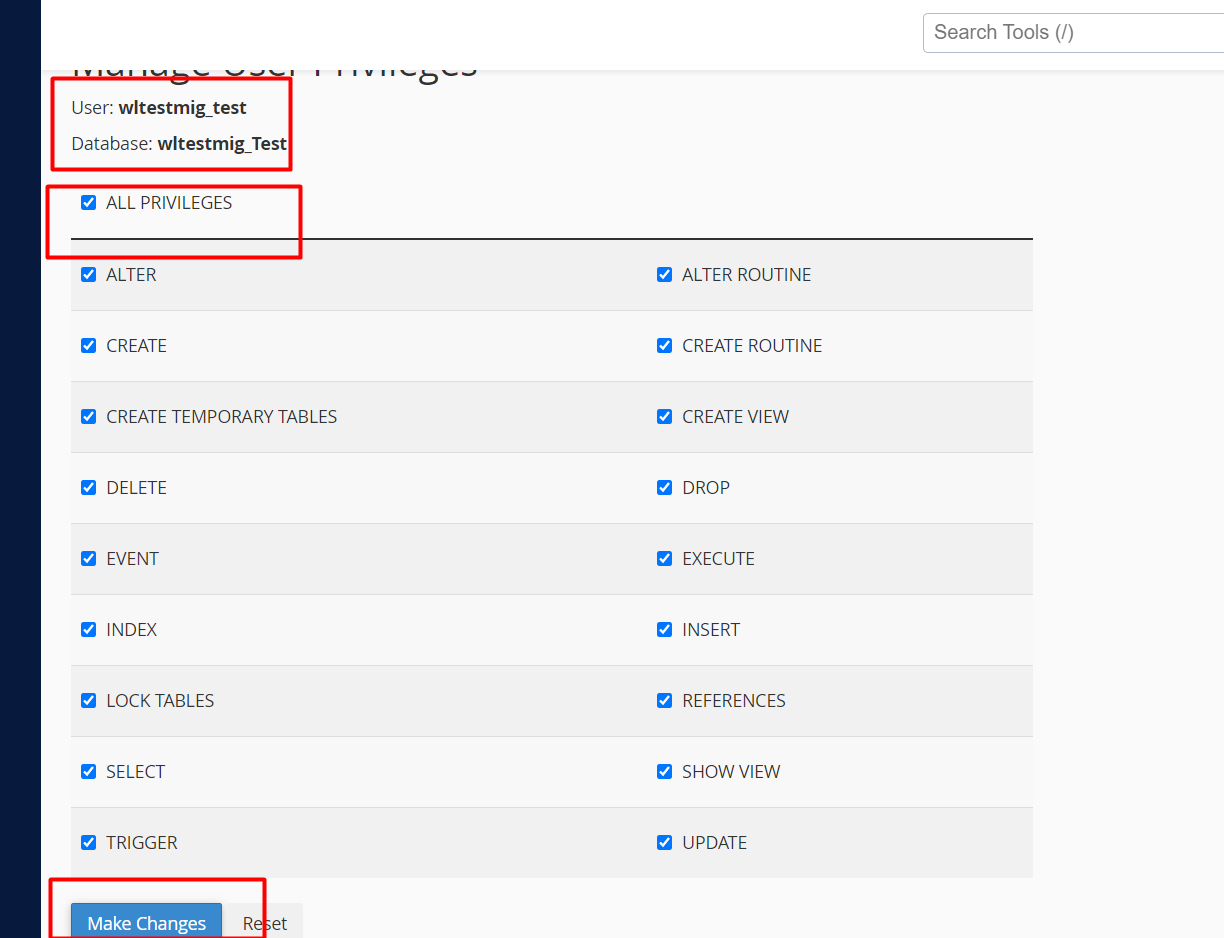
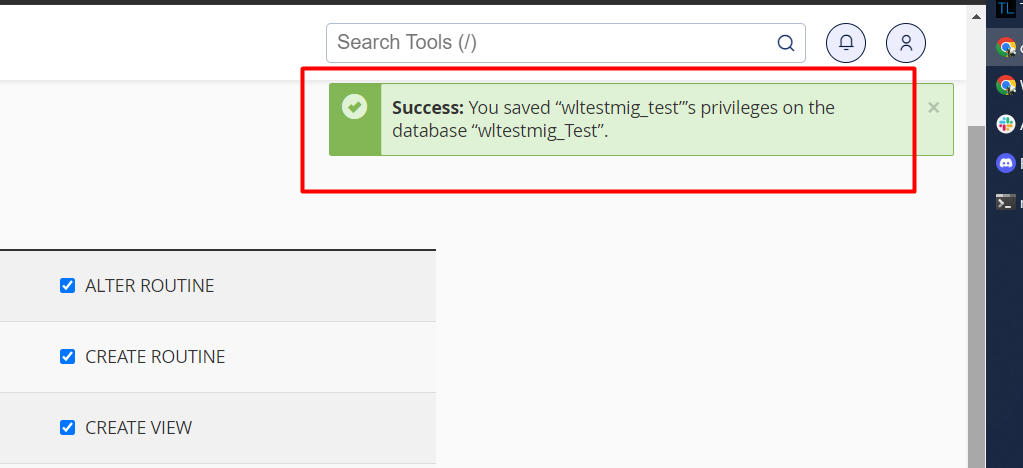
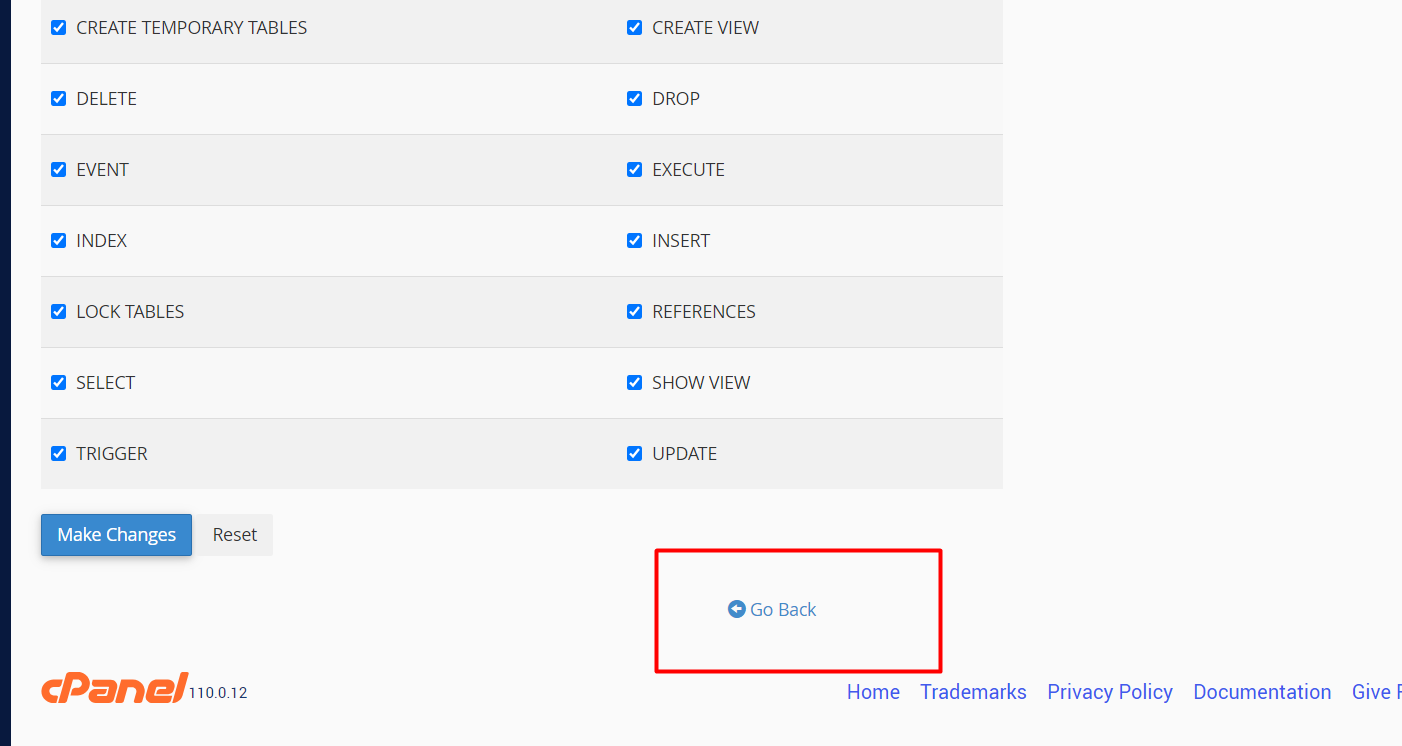
b) Now, let's create the database and connect it to your website. This process involves creating a database user in MySQL, going to MySQL, and creating a database user. Make a note of the database name, username, and password. You'll need this information during the installation.
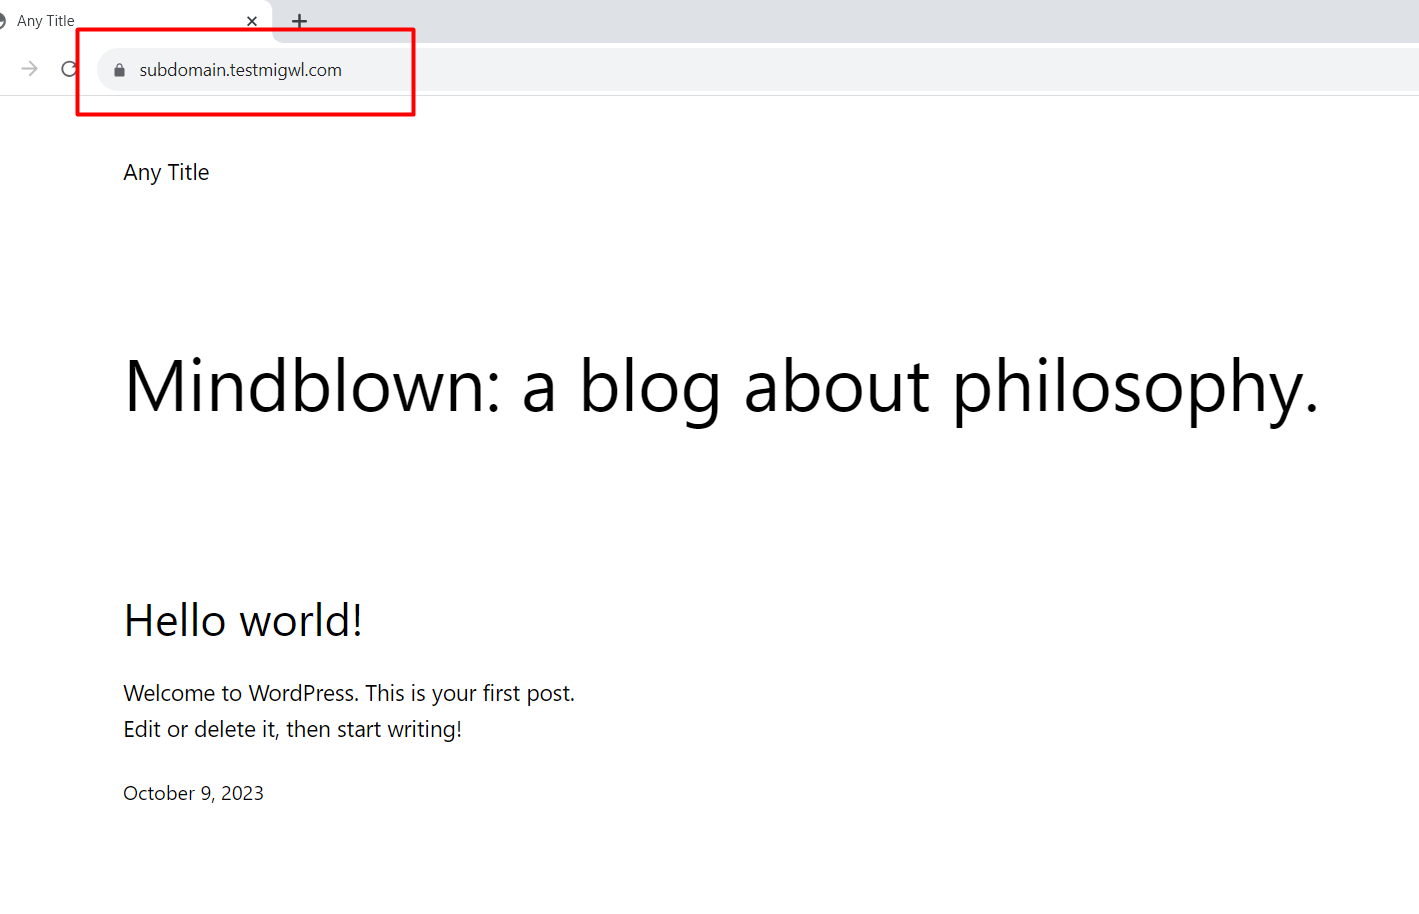
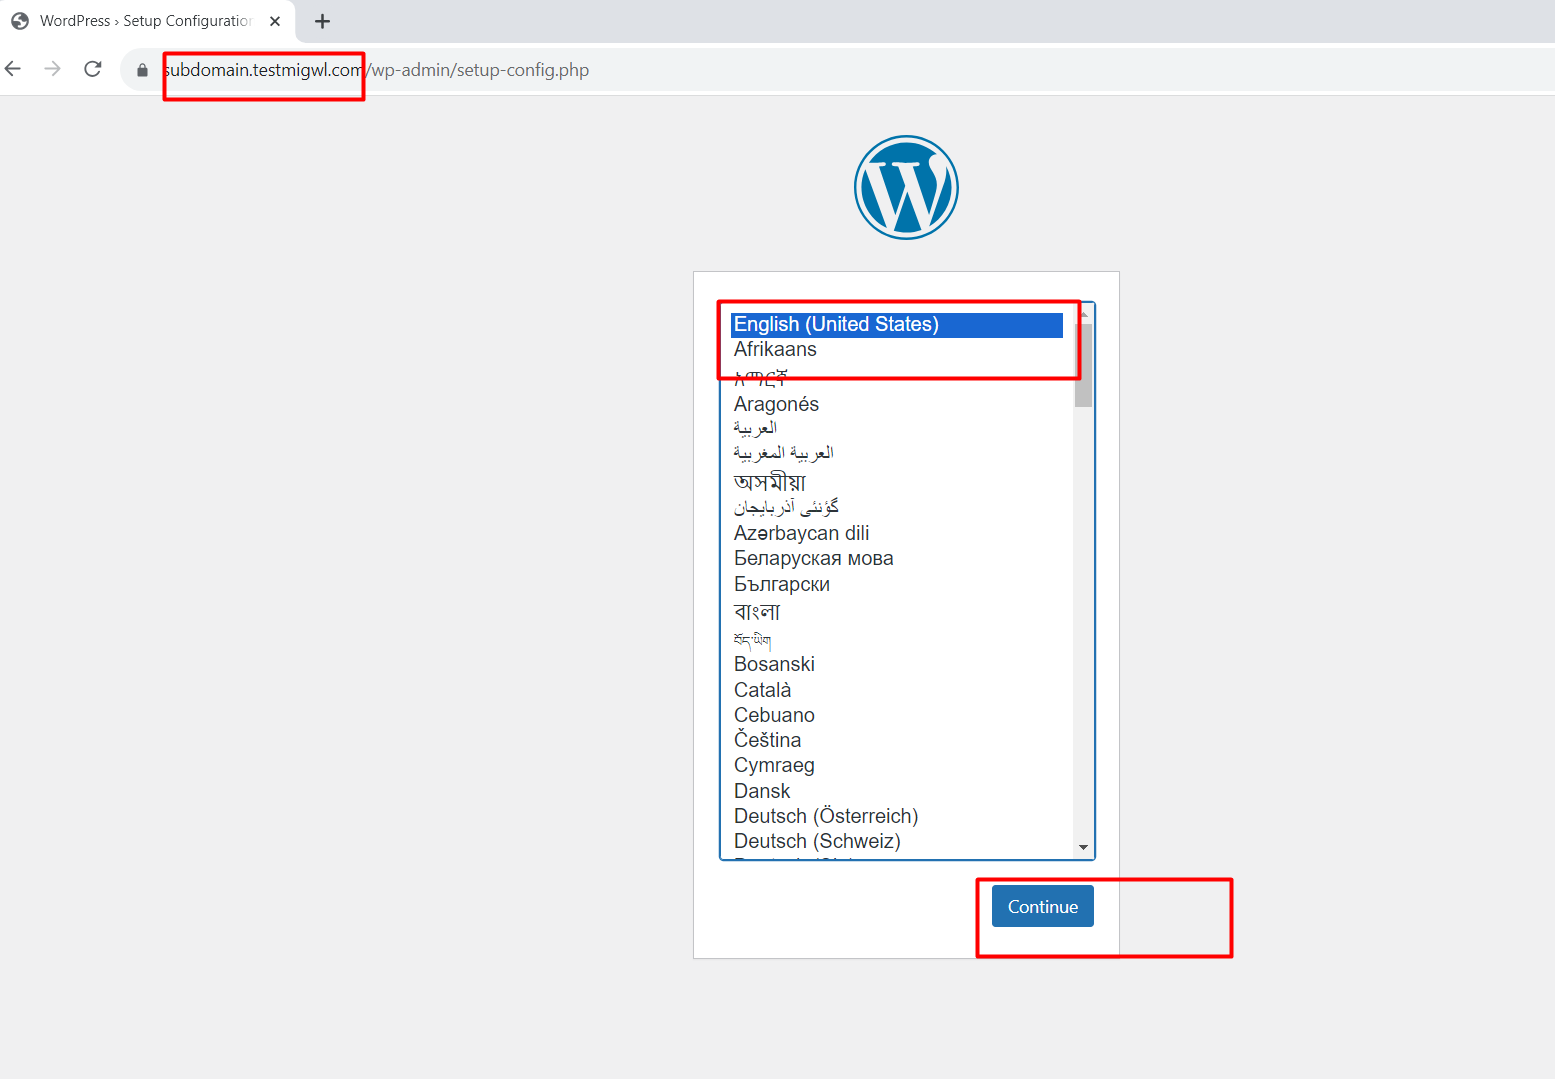
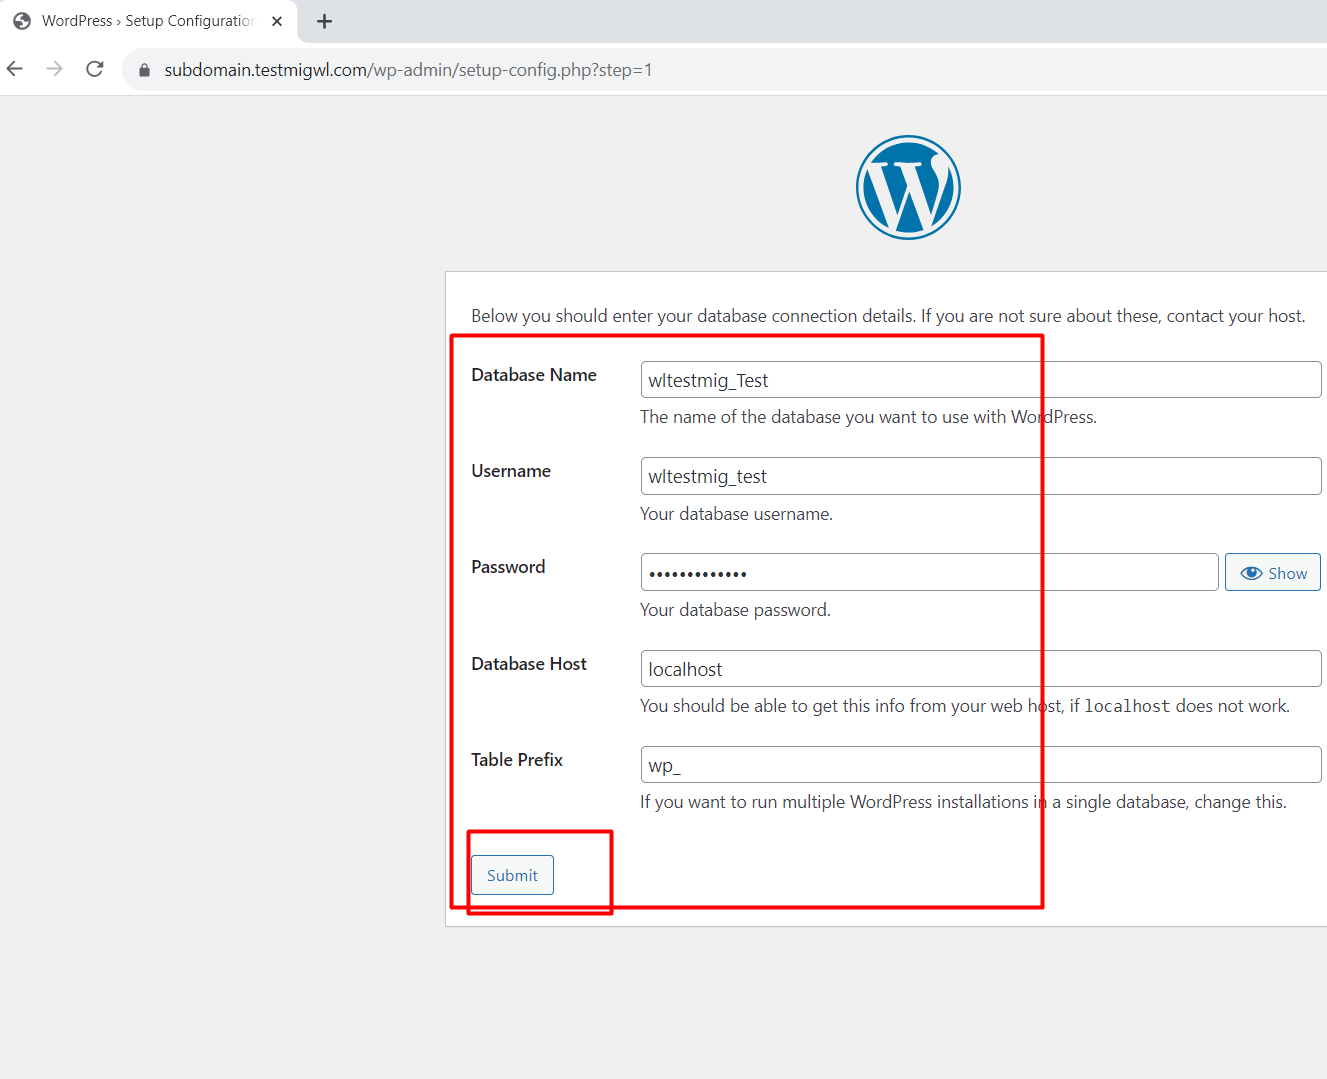
c) Search for your domain/subdomain on the internet and provide the database details you created earlier. Enter the username and password.
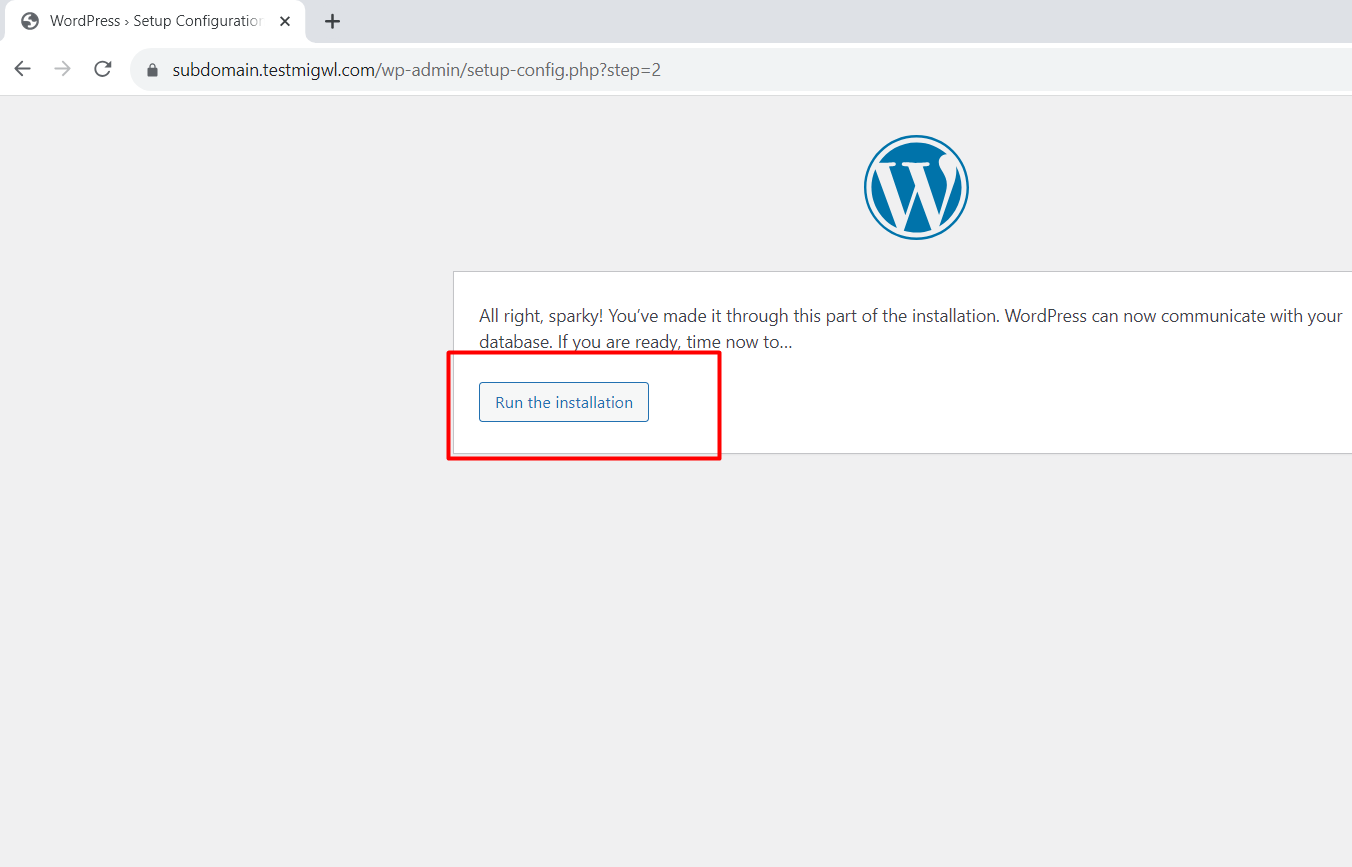
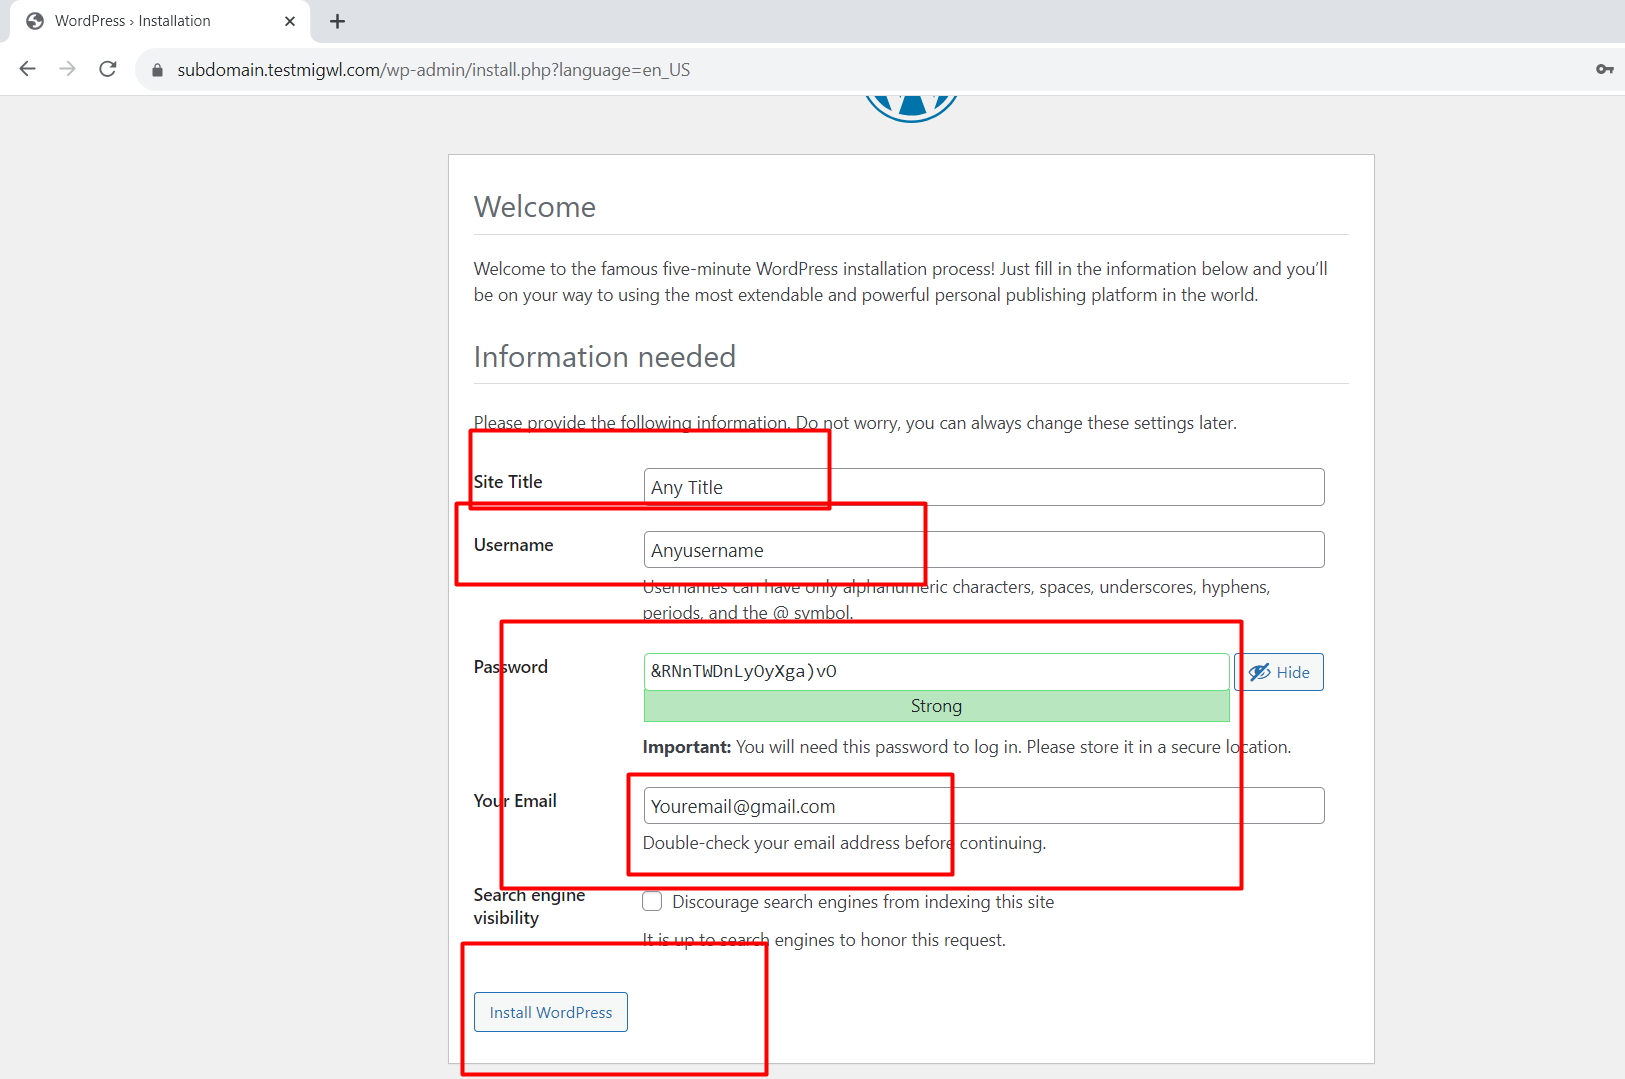
It's done!
Congratulations! Your site is now live on the internet.