

Let’s get started!
- Go to your Dashboard.

- Select your active hosting plan in the product/service section.
- On the next page, you can see a section called “One Click Login”. In that select cPanel.

- You will be taken to the cPanel section, where change your DNS record.
- In the search bar, search for DNS.
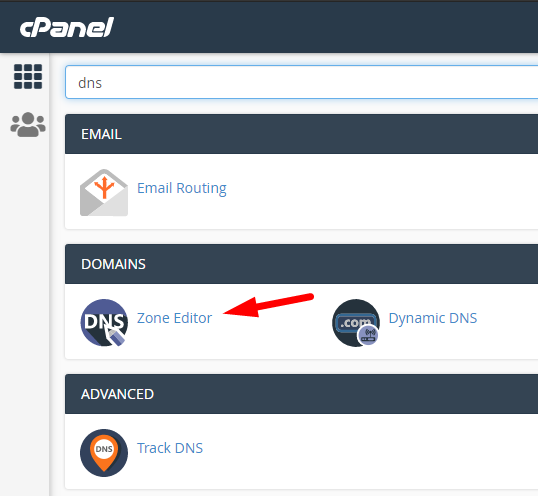
- Click ‘Zone Editor’, you can find it under DOMAINS.
- Search for the domain for which you want to add or change the DNS record.
- After finding your domain, click “A Record” to add a new one.

- If you want to change the existing one, click “manage”.
- Enter DNS name and IP Address, click ‘add’.
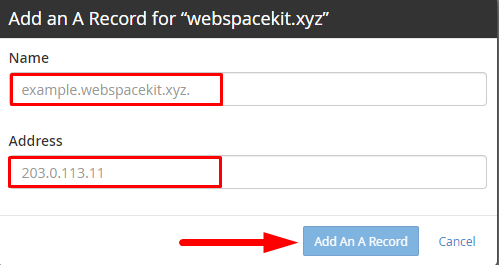
- That’s it you can see that DNS record is added successfully.


