CyberPanel is a web hosting control panel that simplifies the process of managing websites and servers.
One of its key features is the ability to create FTP (File Transfer Protocol) accounts. FTP accounts allow users to upload, download, and manage files on their web server.
In this knowledge base article, we'll guide you through the process of creating an FTP account in CyberPanel.
Step 1: Log in to CyberPanel
The first step is to log in to your CyberPanel account. Once you've logged in, you'll see the CyberPanel dashboard.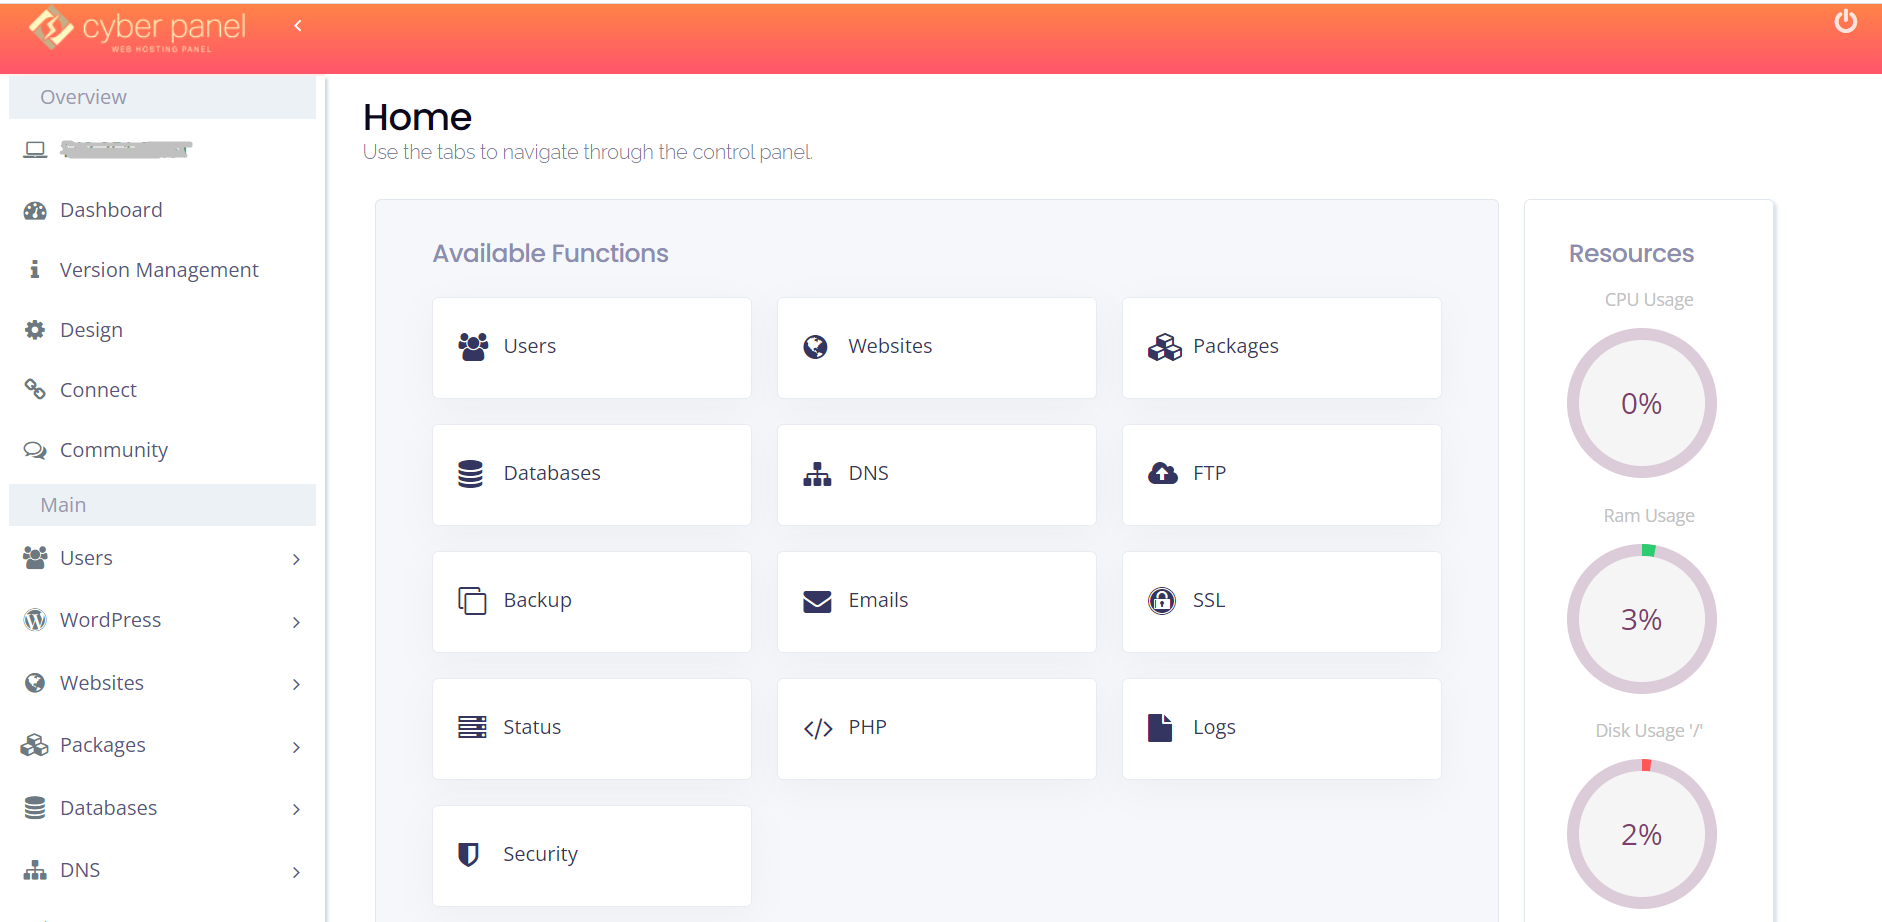
Step 2: Navigate to FTP accounts
To create an FTP account, navigate to the "FTP accounts" section of the CyberPanel dashboard. You can find this section by clicking on the "FTP Accounts" icon in the sidebar.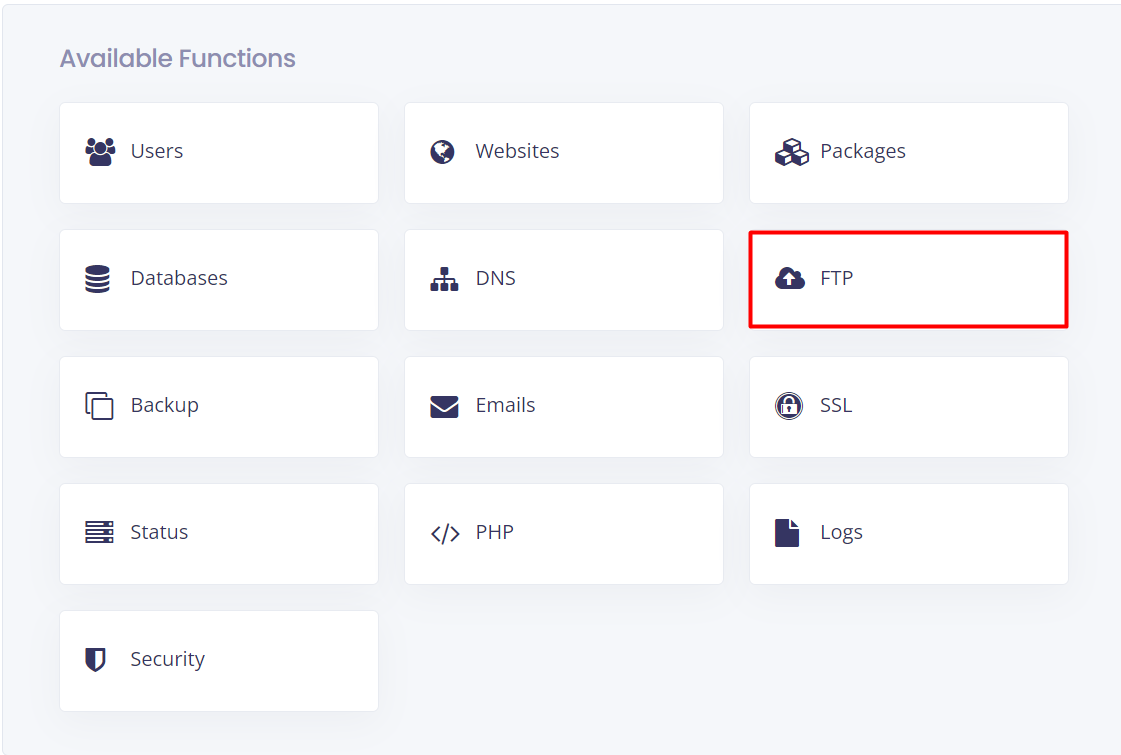
Step 3: Create a new FTP account
To create a new FTP account, click on the "Create FTP Account" button.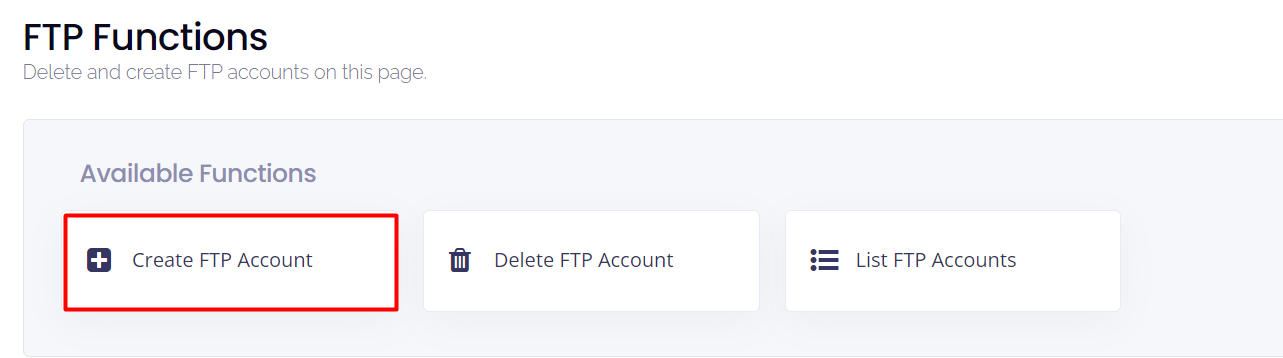
You'll be prompted to enter the following information: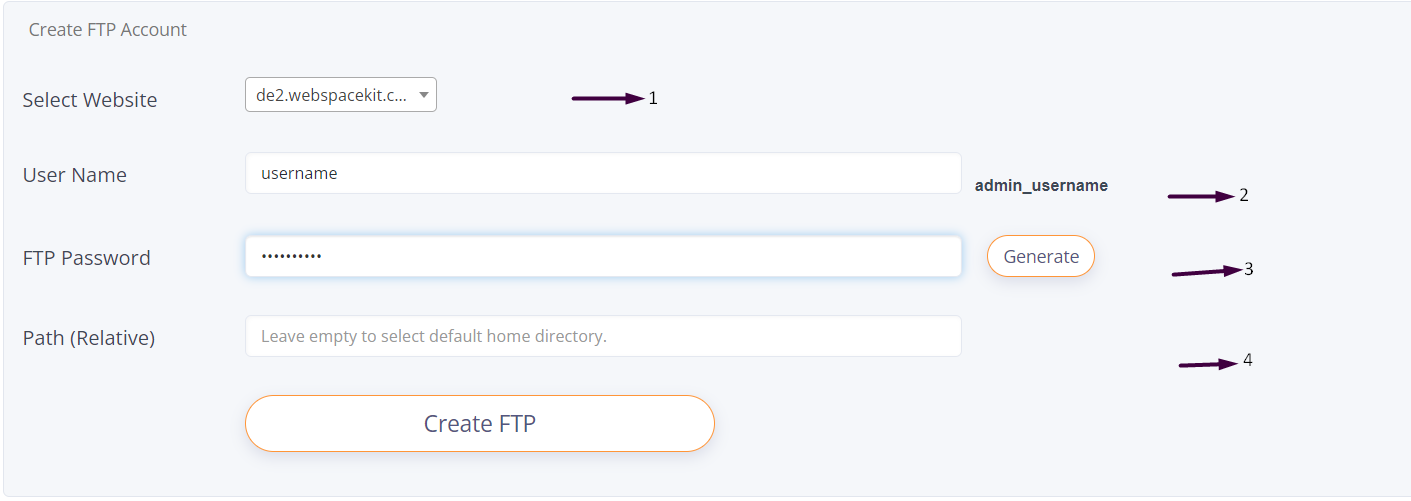
- Select the website you want to create an FTP account for
- Create a username
- Create a password
- Enter the path or leave it empty to select the default home directory
Step 4: Save the FTP account
Once you've entered all the necessary information, click on the "Create" button to save the FTP account.
That's it! You've successfully created an FTP account in CyberPanel. You can now use the FTP credentials to access your web server and manage files. Remember to keep the FTP account credentials safe and secure to prevent unauthorized access.


