

Let’s get started!
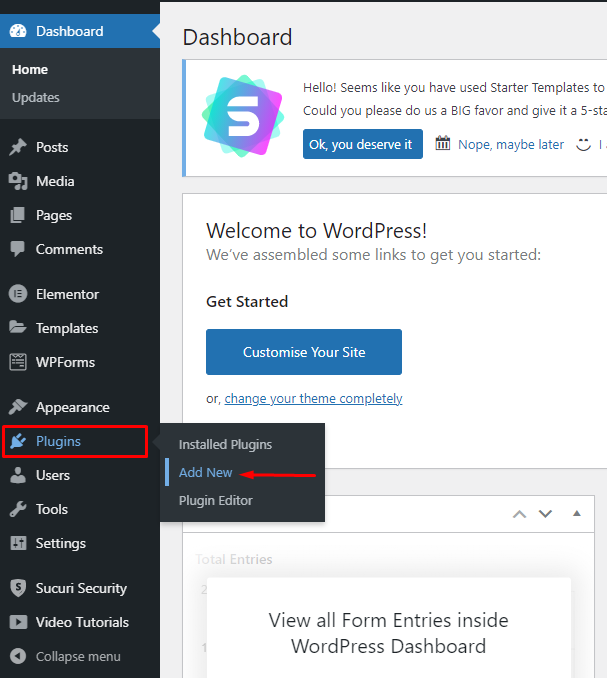
- Go to your WordPress dashboard form which you want to migrate.
- From the sidebar go to plugins > click 'Add New'
- Search for 'Migrate Guru'
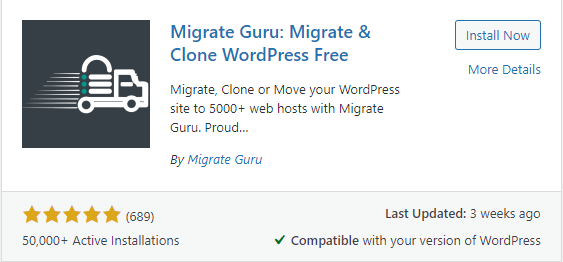
- Click 'Install Now'
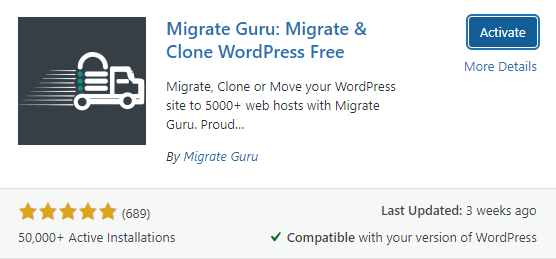
- After installing, click 'Activate'.
- Now, you will be redirected to Migrate Guru home page.
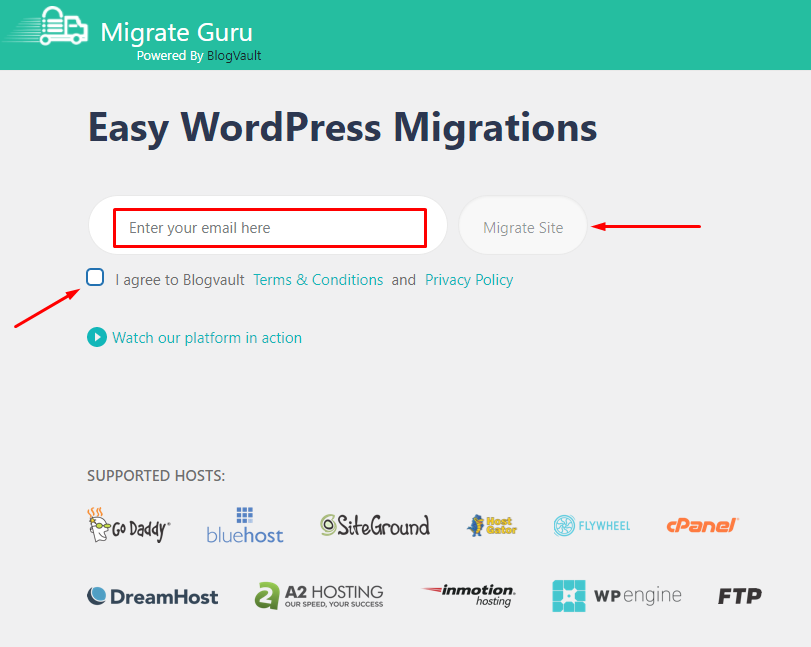
- On this page, enter your email and agree to the terms and conditions.
- Click 'Migrate Site' to start the migration process.
- You will be redirected to this page.
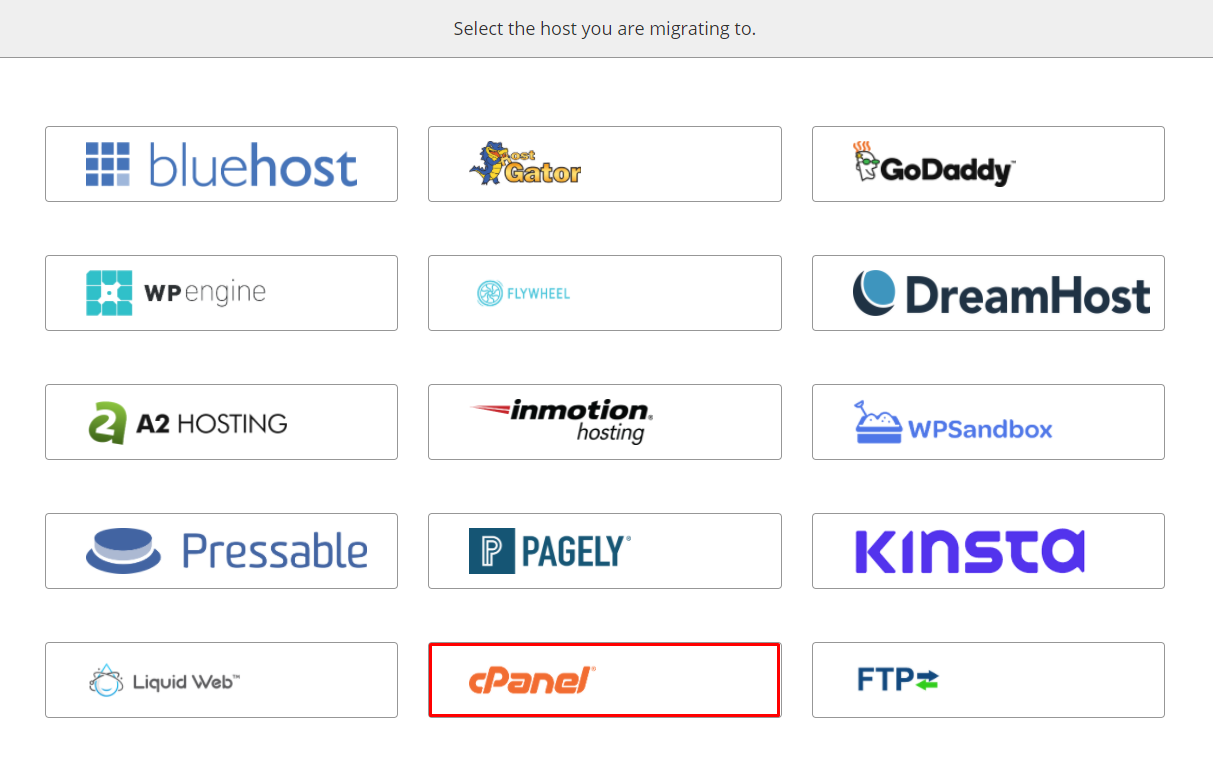
- On this page, Select the 'cPanel' option.
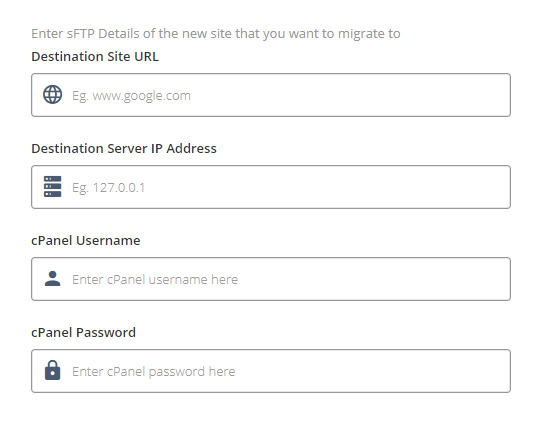
- On this page enter the following details:
- Destination Site URL:
- Destination Server IP Address:
- cPanel Username:
- cPanel Password:
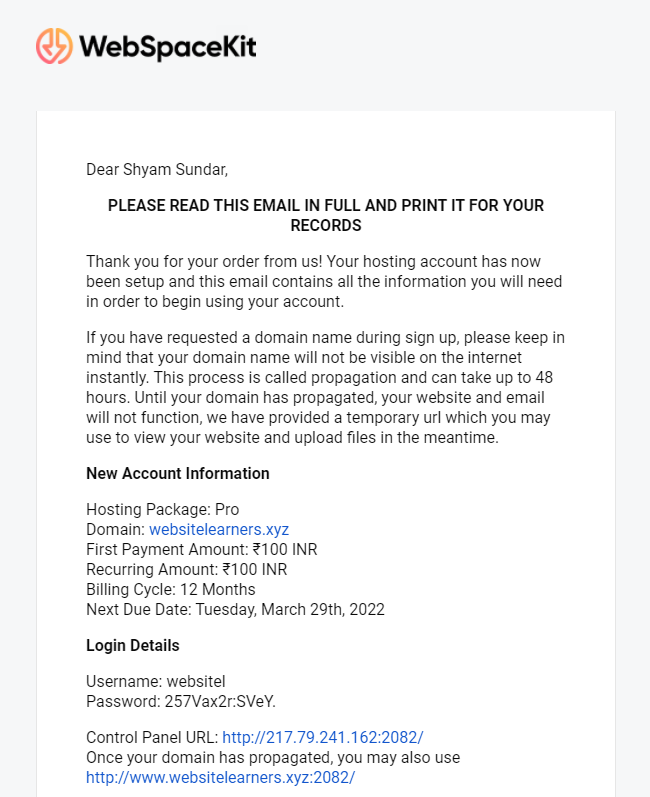
Note: These details are shared to your webspacekit registered email at the time of account creation.
- Search for 'New Account Information' in your Email inbox.
- You can see the mail which is sent from webspacekit like this:
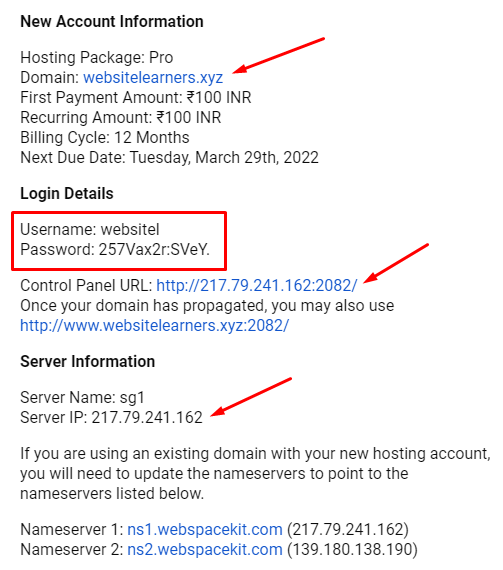
- These are the details you have to look for (example)
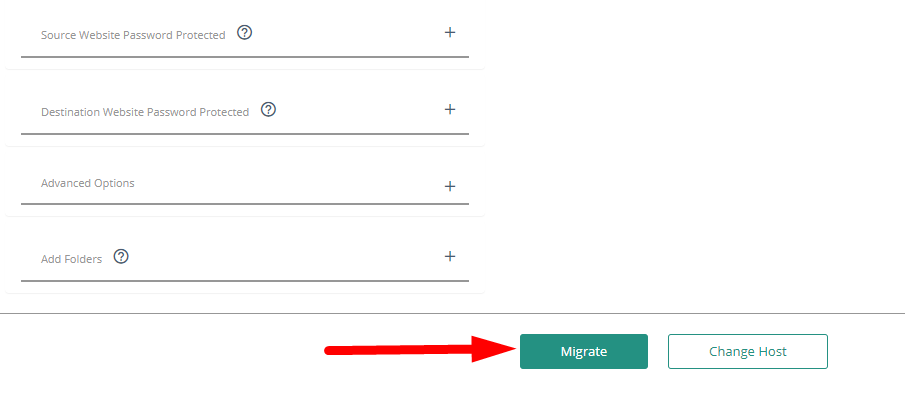
- After entering the required details, click 'Migrate' to start the migration.
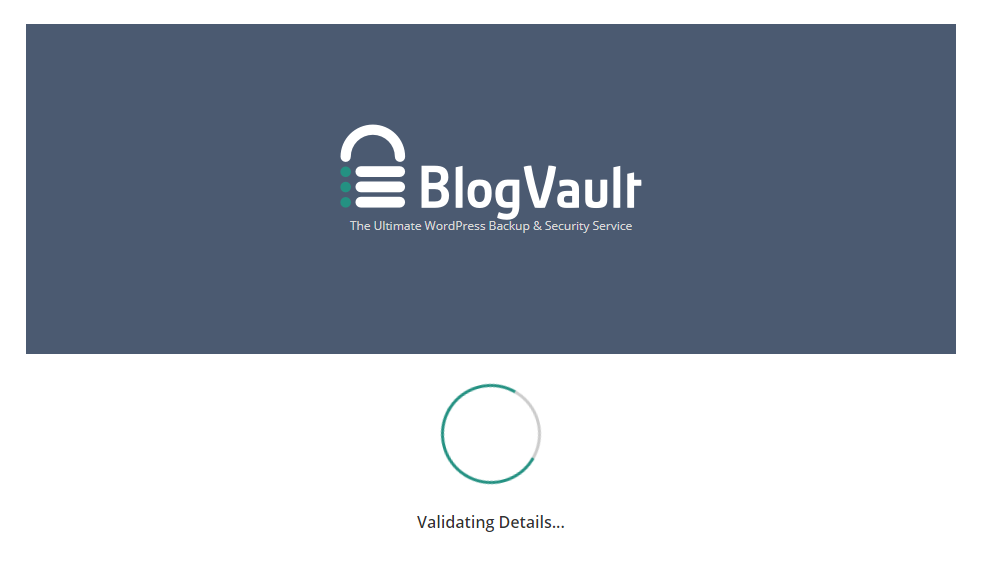
- You will get this page.
- After the verification is completed, you will get this page.
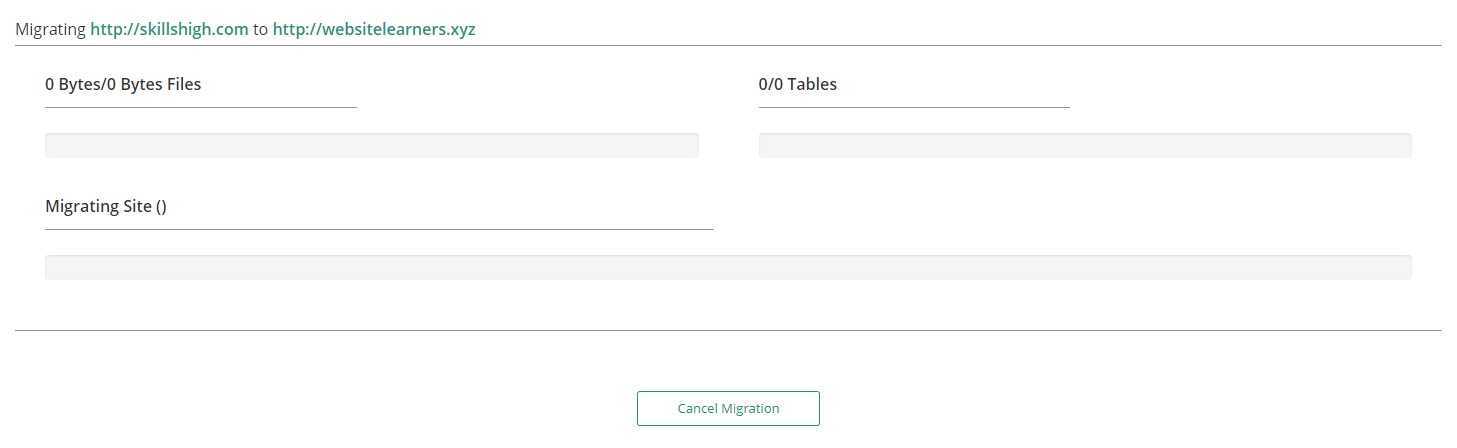
- Wait for some time to complete the process. It might take 5-10 mins to complete the process.
- You will get a confirmation message, telling you that the migration is completed.
- To view the updation, go to your destination site.
- That's it you have successfully migrated your site from WordPress to WebSpaceKit.


